Hello! Welcome back to my 4-Day-Blogging-Bonanza! Today i am going to show you how to create some Halloween lanterns with my step by step picture guide. These are really cute but simple and easy to make lanterns, perfect for dotting around the house, or lining the path up to your house, they are so simple and easy and you can make them from things most people have lying around the house. No time for me nattering on, lets get started.
- Firstly lets gather some stuff to make it with, yes that’s a wise idea. So you are going to need:
-some string -a pair of scissors -a glue-stick -some sellotape -a pen -x2 jars (preferably washed with labels off – unlike mine) -some red paint -a roll of foil -a sandwich bag (optional) Here’s a picture of everything you need.

2. Roll out y’all foil, and then roll it up and around the smallest jar. When it completely covers the jar, make a small mark with a pen where it ends, then cut along this line.


3. You should now have a piece of foil similar to this, now repeat step no.2 on the top length of the foil to make it rectangular 

4. Now you have your piece of foil, choose a Halloweeny something to put on it, i have chosen a bat, you could choose a pumpkin or a moon? Once you have chosen something, using the pen, draw your shape onto the foil, when you draw make sure that you draw on the less shiney side. Beware, foil will rip really easily so be super careful. When you are drawing, push the pen down hard enough so that it pushes through the foil. TIP: when drawing it may be a good idea to put a piece of paper underneath t
he foil, this makes sure that if you are drawing on a wooden surface, you won’t scratch it.


5. When you have drawn your shape, hopefully it should just pop out of the foil like this:


6. Now i’m going to draw some eyes on my bat.

7. Keep both the shape you cut out and the piece of foil around it. Now cut out some more shapes! As many as you like!


Don’t forget the eyes!
8. On the piece of foil which you cut the bats out of, using the glue stick, glue all over the slightly less shiny side. Then place on the jar and smooth over getting rid of any creases, be careful not to rip it! Please excuse my grubby blue nails, i was making a blue cake for Leah’s Birthday yesterday and can’t get rid of the food colouring


8. Now do the same for the bats you cut out. Make sure that you stick then on the other jar. Nearly done!

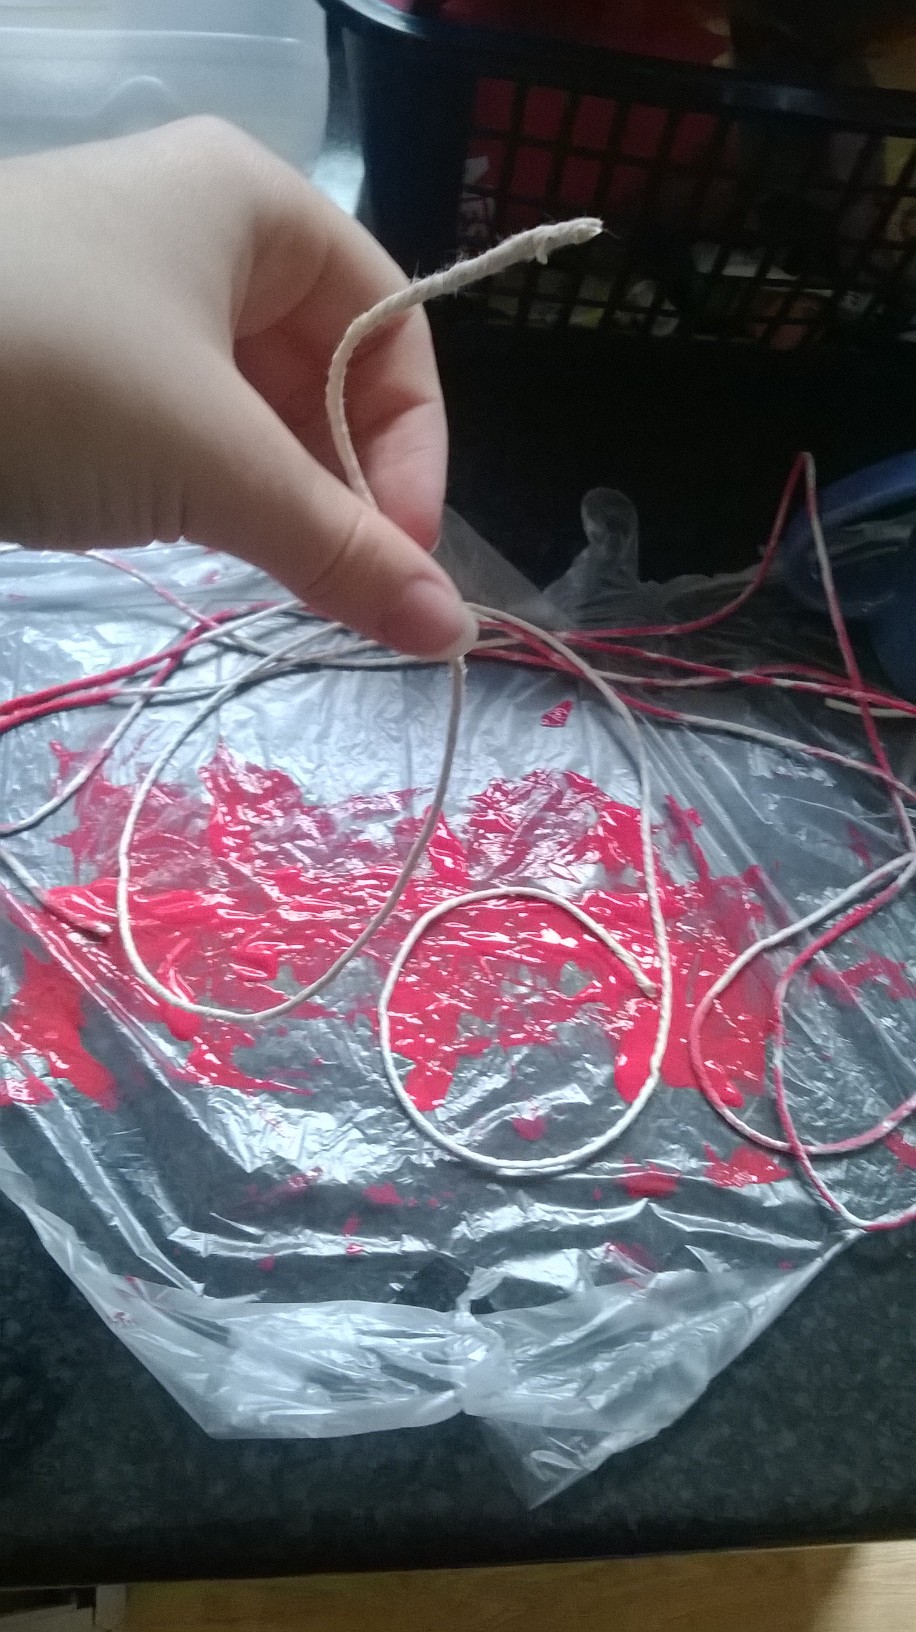
9. Now it’s time to make the handle, this part is optional. Firstly cut your sandwich bag along one of the sides and the bottom so that is is laid out flat. Then squirt some red paint all over it, not too much, a few streaks of it will do. Then drag 2 strips of string through the paint, don’t smoother it, just make sure there are patches of red. Then leave the string to dry.


10. Now wrap the string round the neck of the jar, secure the start of the string with some sellotape. Then, when you have just over the length of the diameter of the jar left, make a handle with the string over the top of the jar and sellotape down. You may want to wrap the sellotape around the neck several times to make it secure.


11. Add a candle (i have used fake candles) and TA-DA! This picture is a bit blurry, but this is what you could do with them! Have fun making these, and finally, have a good Halloween! Be sure to come back tomorrow morning for some holiday pictures from a certain city in wales! 
Related articles
- Halloween: A Brief History (lakeside.com)

